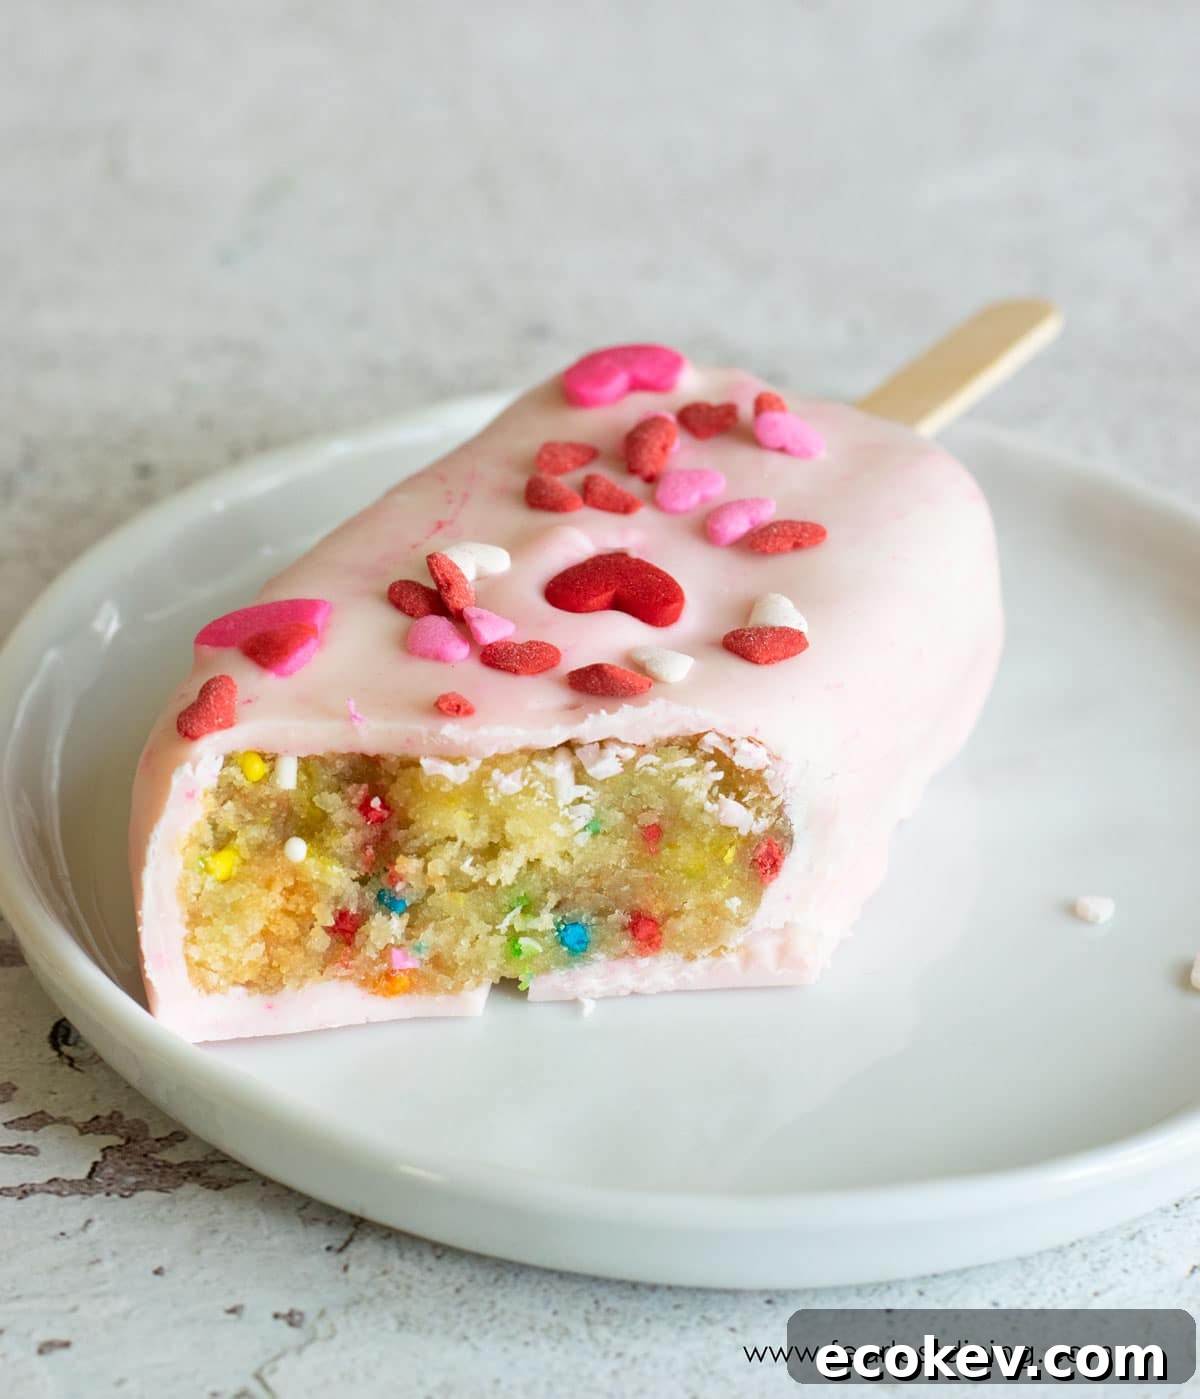
Cakesicles are a delightful, portable dessert that are as fun to make as they are to eat. This gluten-free cakesicles guide includes practical tips and clear steps so you can make beautiful, delicious cakesicles using either a homemade gluten-free cake or a boxed gluten-free cake mix.
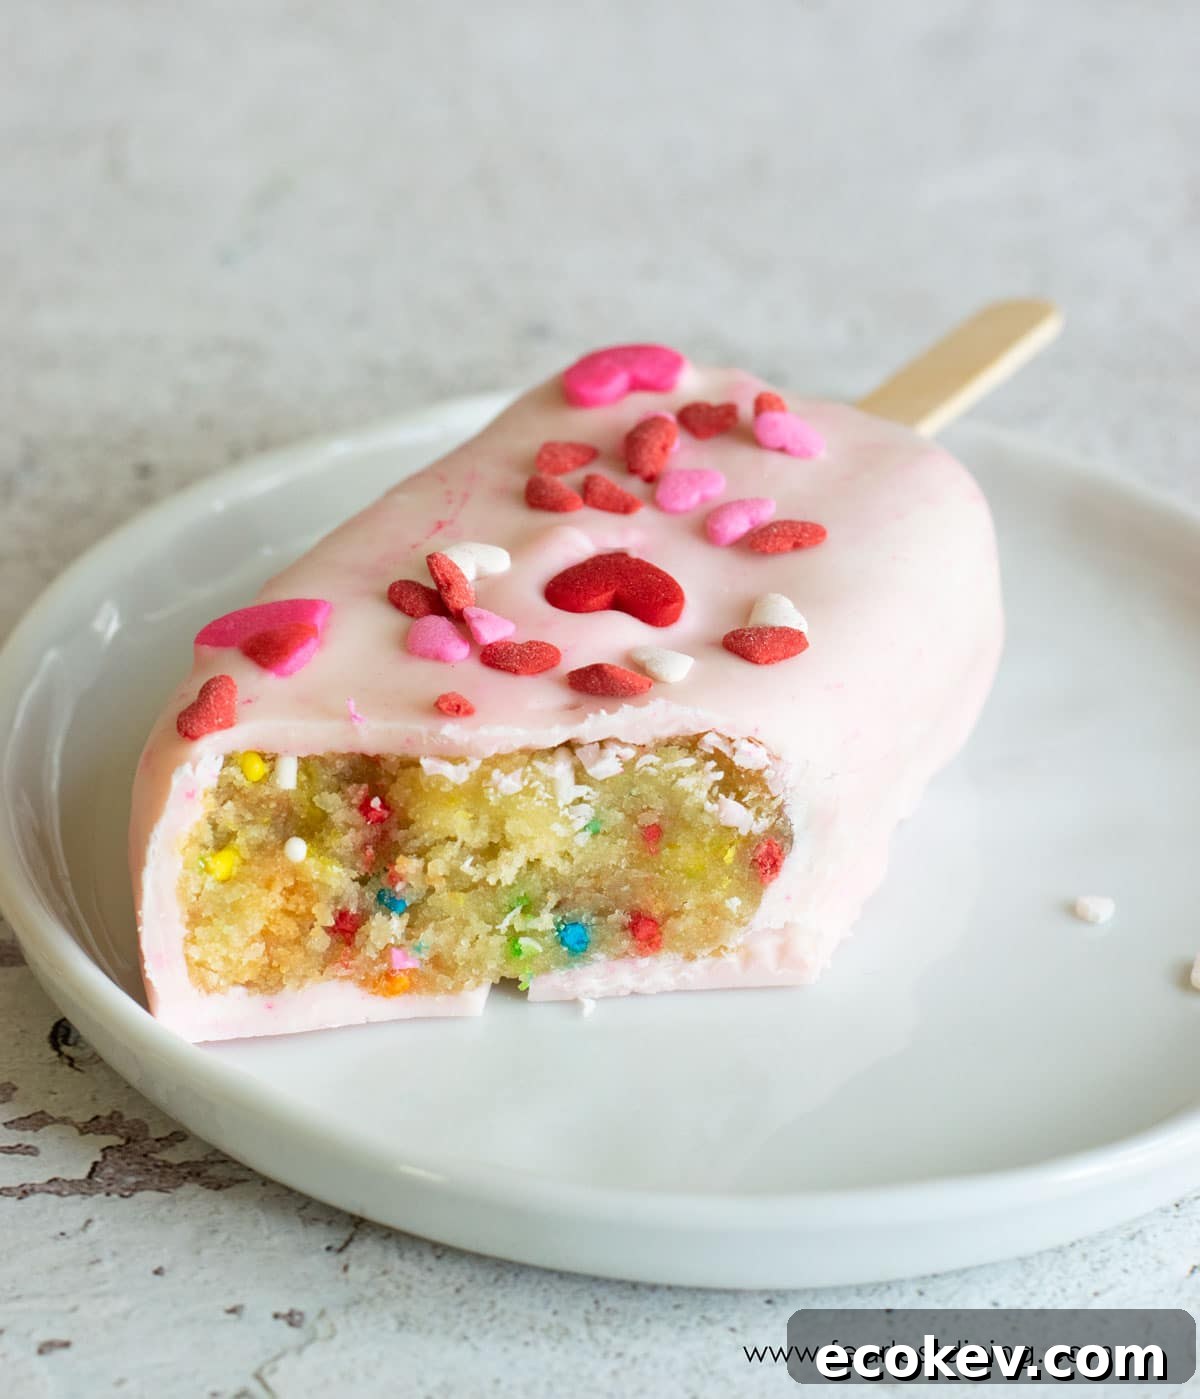
If you enjoy cake, you’ll love these hand-held gluten-free cakesicles. They are essentially popsicle-shaped, chocolate-covered cake treats that are easy to decorate for holidays, parties, or gifting.
Why we love making gluten-free cakesicles
- You can make these with any gluten-free cake flavor—vanilla, chocolate, lemon, carrot, pumpkin, or more. Use baked cake from scratch or a gluten-free box mix.
- Kids and adults both enjoy decorating cakesicles, making this a fun group activity.
- Cakesicles work beautifully as party favors and on dessert buffets.
- With the right ingredients and technique, no one will guess these are gluten free.
- They store well: make and freeze them for an easy treat on hand.
We also love gifting other gluten-free treats such as heart-shaped gluten-free brownies and cookie mix jars; cakesicles pair nicely with those for themed gifts.

Ingredient Notes:
This recipe works with any gluten-free cake. You can bake a cake from one of your favorite gluten-free recipes or use a boxed gluten-free cake mix. Below are the main ingredient categories; exact amounts are given in the recipe card further down.
- Gluten-Free Cake – Any flavor will work. Bake and cool fully before using.
- Sprinkles – Choose gluten-free sprinkles when decorating.
- Frosting – Homemade or store-bought frosting will bind the cake crumbs into a moldable mixture.
- Melting Chocolate / Wafers – White chocolate melting wafers are easy to color and work well for coating. Check ingredient lists and manufacturing notes if you need certified gluten-free wafers.
- Food Coloring – Optional, for tinting white chocolate.
Tips for success
1. Melt chocolate slowly: in the microwave use short 20–25 second bursts, stirring between each interval, or use a gentle double boiler. Overheating will burn the chocolate.
2. Verify whether the chocolate or candy melts are made on shared equipment if you need strict gluten-free assurance.
3. Avoid inserting popsicle sticks into the mold before chilling. It makes removal harder. Instead, chill the cakesicle shapes, dip a stick in melted chocolate, and then insert it—this helps the stick adhere and stay secure.
Step-By-Step Photos and Directions:
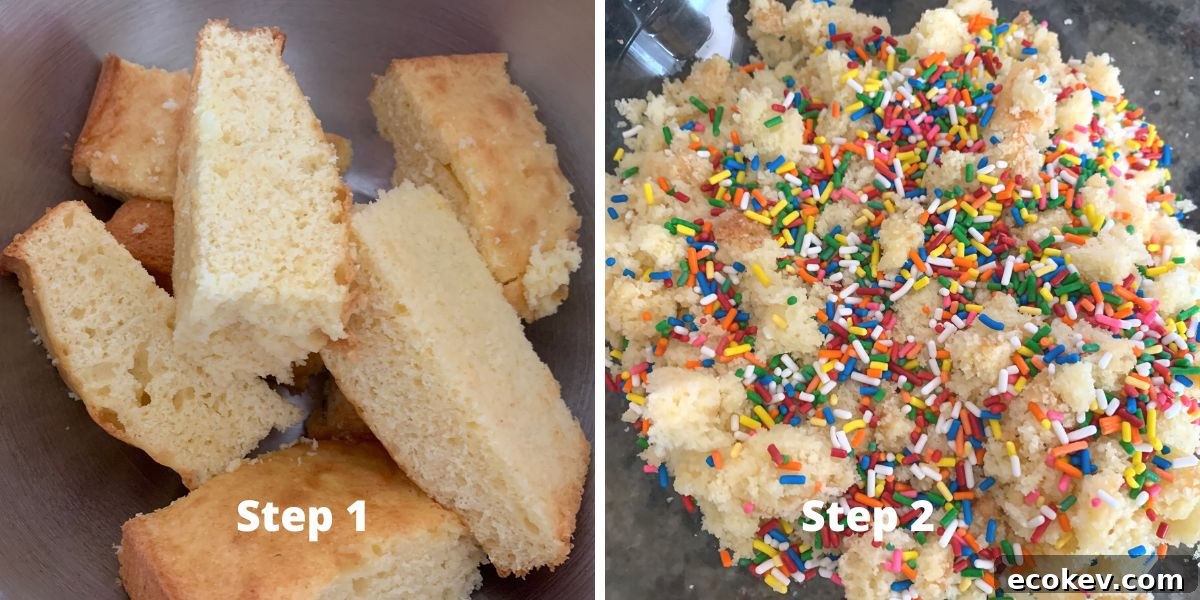
Step 1: Crumble cooled, baked cake into a large mixing bowl. Tear or shred the cake into small pieces so it will mix smoothly with frosting.
Step 2: If you want sprinkles inside the cakesicle, add them now and mix gently.
Step 3: Add 3–4 tablespoons of frosting to start and mix into the cake crumbs until the mixture holds together when pressed. Add more frosting if needed, but avoid making it too soft.
Step 4: Press the cake-frosting mixture firmly into a cakesicle mold. Smooth surfaces and compact the mixture so the shapes hold together.
Step 5: Chill the filled molds in the refrigerator for about one hour to firm up.
Step 6: Remove the cakesicles from the molds. Dip the end of a popsicle stick about a quarter-inch into melted chocolate and insert into each cakesicle; the chocolate will act as glue and stabilize the stick.
Step 7: Melt your coating chocolate either in a double boiler or in the microwave using short intervals. Hold each cakesicle over the melted chocolate and spoon the chocolate over to coat. Tap gently to remove excess.
Step 8: Place coated cakesicles onto a silicone mat or wax paper on a baking sheet. Quickly add sprinkles or decorative drizzles before the coating sets. Chill for 20–30 minutes to finish setting, then serve or freeze.
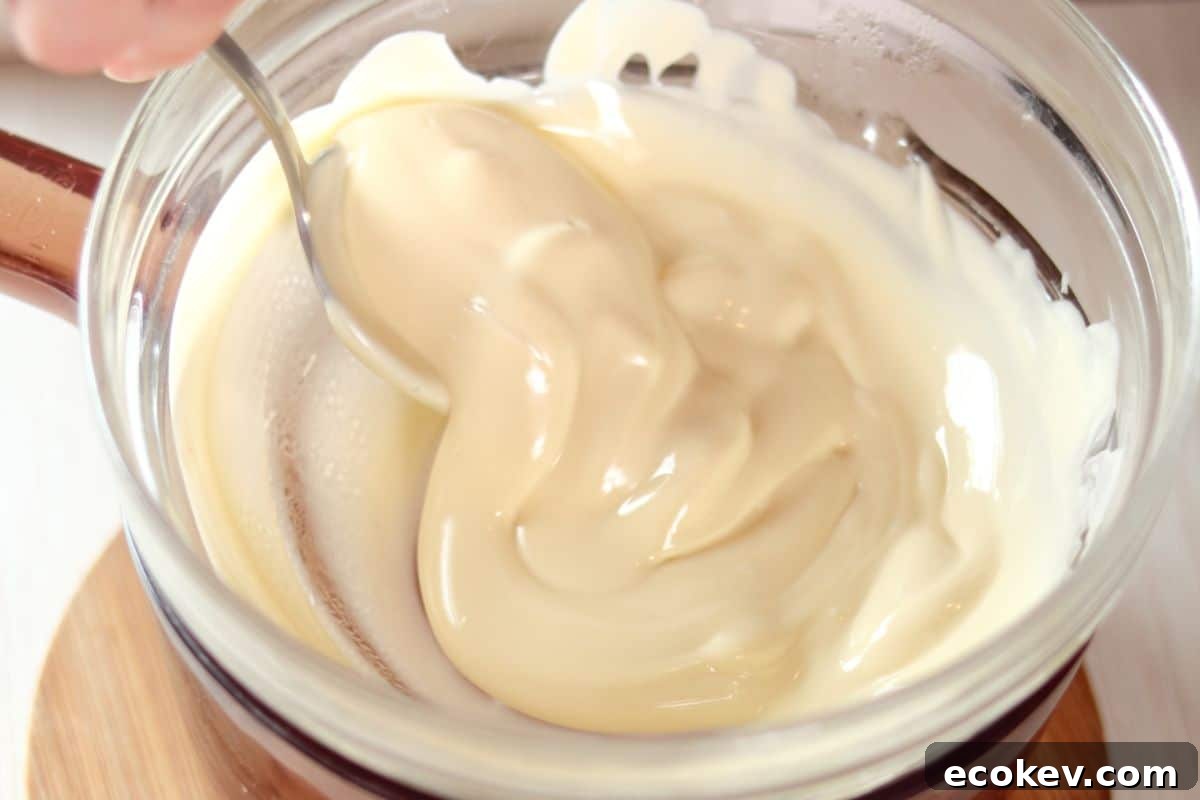
Two ways to melt chocolate
- Double boiler: Heat water in the bottom pot and place a heat-proof bowl above it with the chocolate. Stir until melted, keeping water out of the chocolate.
- Microwave: Heat in 20–25 second intervals, stirring between each burst. Stop as soon as the chocolate is mostly melted and stir to finish—avoid overheating.
Holiday decorating ideas
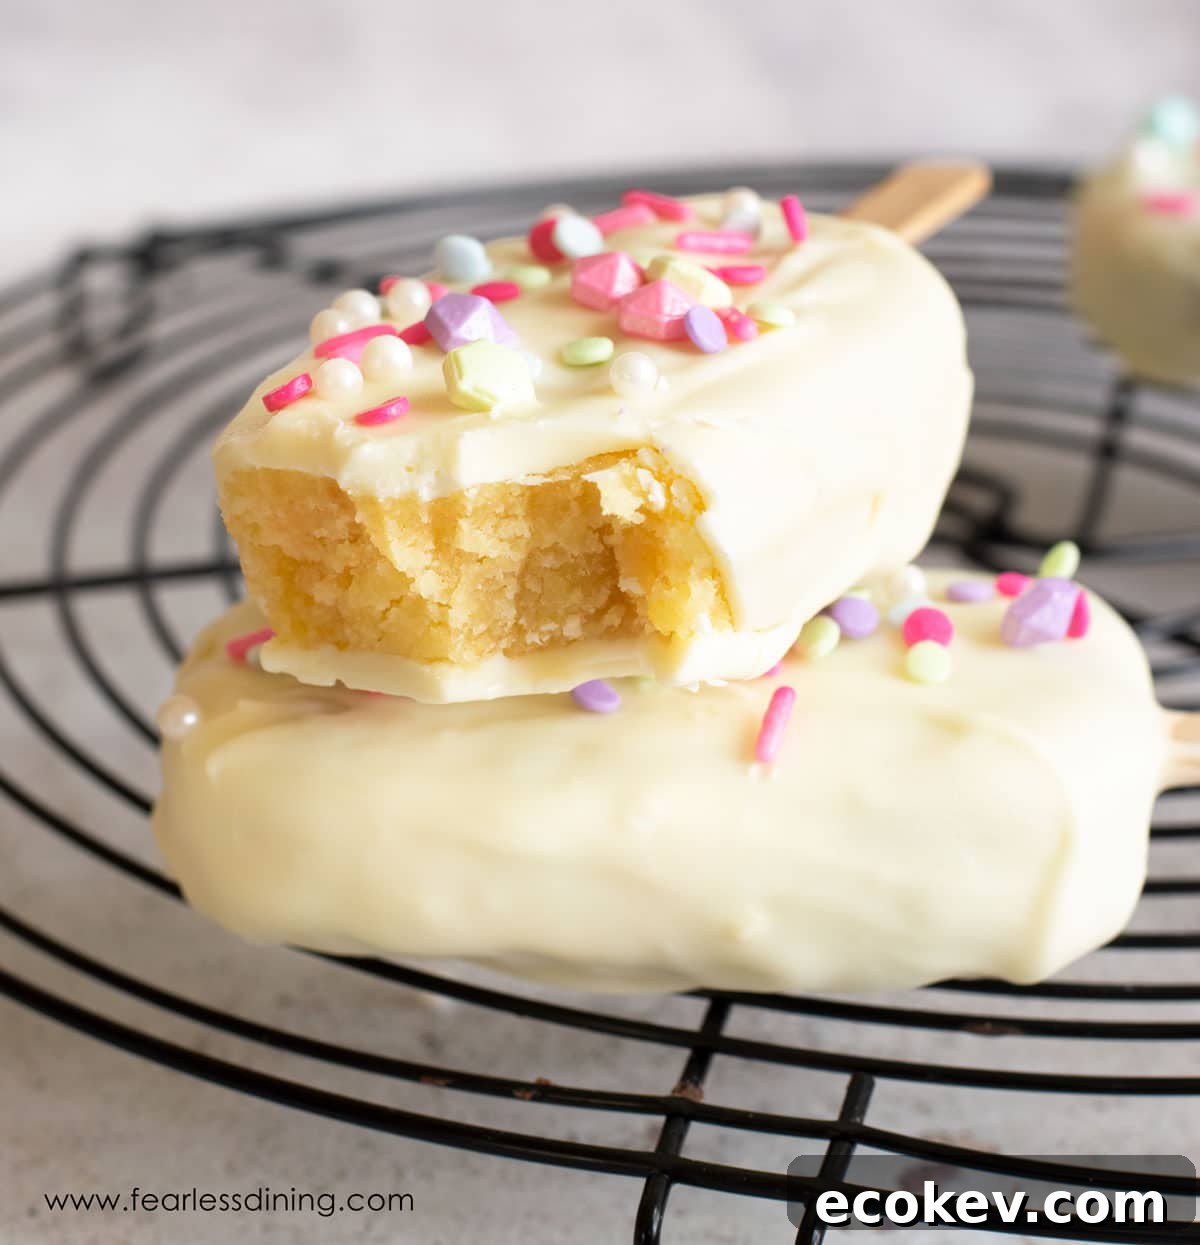
These cakesicles are perfect for seasonal decorating. Tint white coating with food coloring for themed colors, drizzle contrasting colors for patterns, or use themed sprinkles or candy eyes for holidays like Halloween, Valentine’s Day, Christmas, Hanukkah, and Easter.
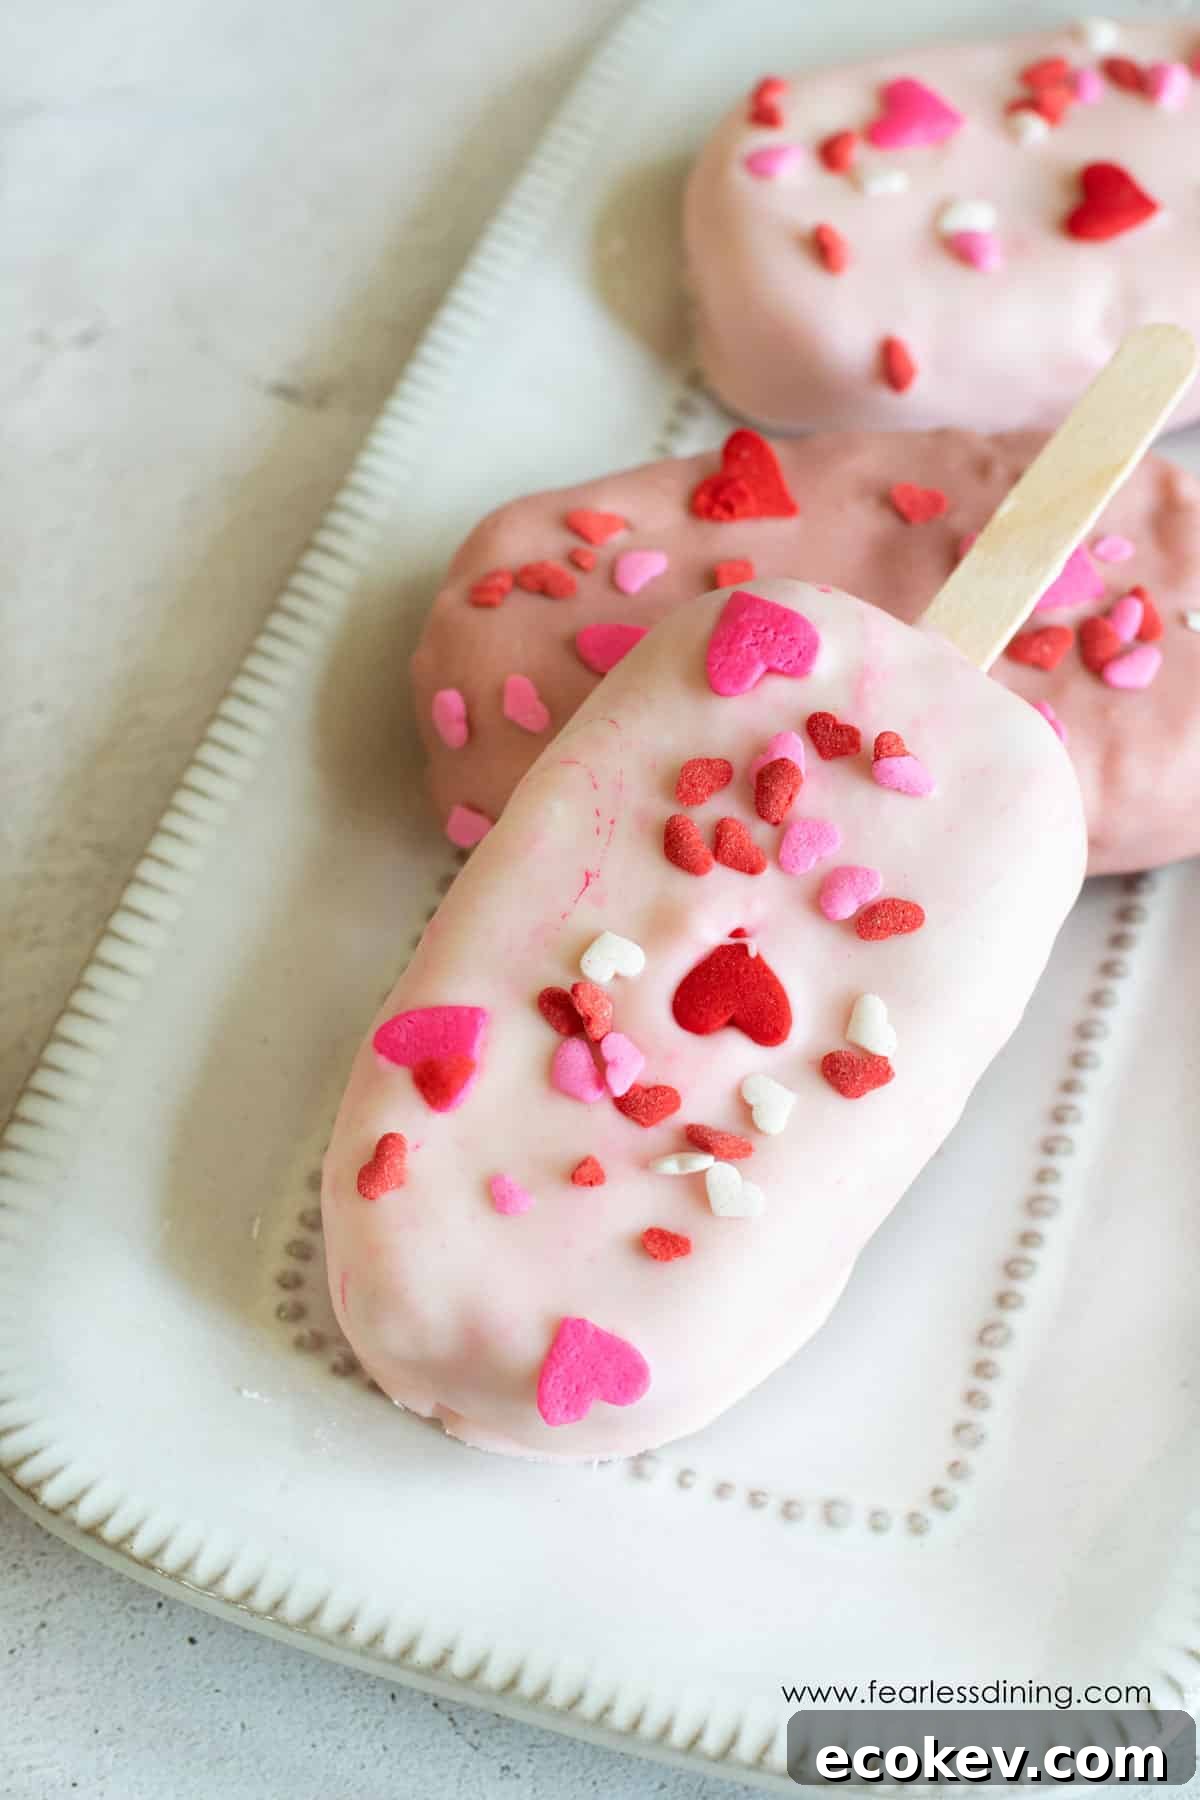
Valentine’s: Red or pink-tinted coating with sprinkles. Halloween: White coating with a contrasting “mummy” drizzle and candy eyes. Christmas: Green coating and festive sprinkles or tree shapes. Hanukkah: White and blue chocolates. Easter: Pastel-colored coatings and spring sprinkles.
Frequently Asked Questions
What is the best melting chocolate? Choose a high-quality melting wafer or white chocolate that melts smoothly and accepts food coloring well. If you need gluten-free assurance, confirm the brand’s manufacturing practices.
How far ahead can you make cakesicles? For the best texture, make and store coated cakesicles in the refrigerator up to two days. To prepare further ahead, form and freeze the uncoated cakesicles, then thaw and dip in chocolate when ready.
Do cakesicles need refrigeration? Yes. Store cakesicles in the refrigerator to preserve freshness, especially since many gluten-free baked goods lack preservatives.
Gluten Free Cake Recipes for Cakesicles
- Gluten Free Chocolate Cake
- Gluten Free Vanilla Cake
- Gluten Free Lemon Cake
- Gluten Free Carrot Cake
Gluten Free Cakesicles (Use Any Leftover Cake!)
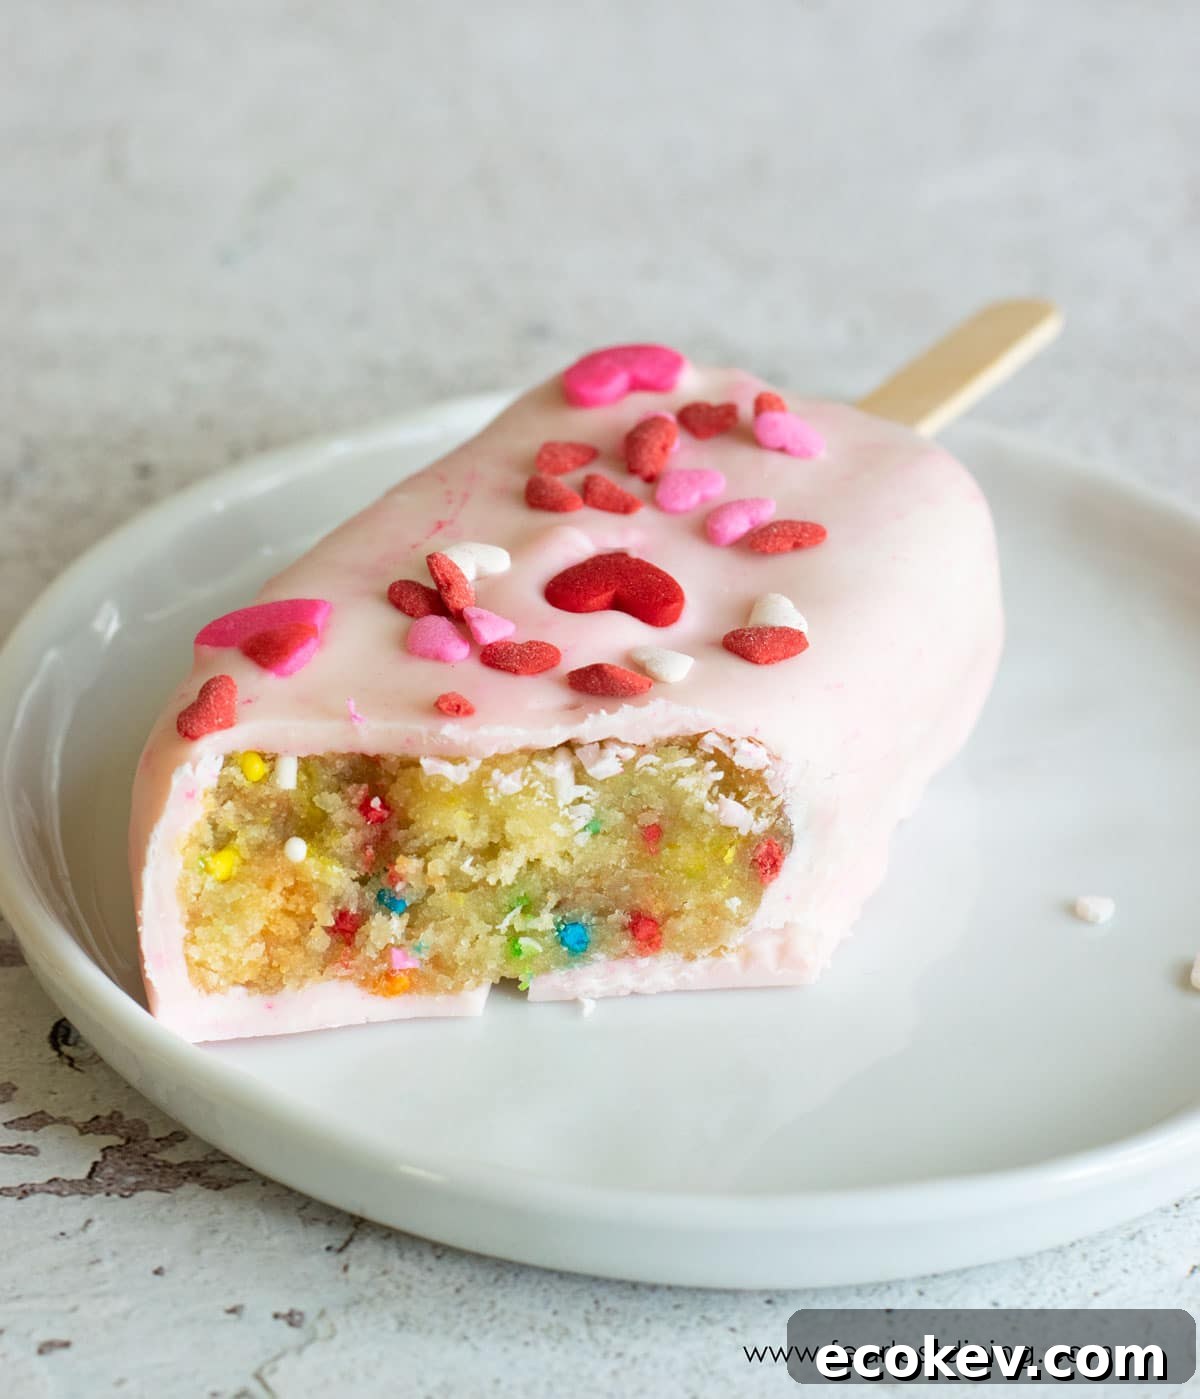
Gluten Free Cakesicles
An easy tutorial that walks you through every step of making gluten-free cakesicles, with tips for flavors and holiday decorations.
Servings: 8 cakesicles
Prep: 30 mins • Chill: 1 hour • Total: 1 hour 30 mins
Ingredients
- 4 cups cooled, crumbled gluten-free cake (any flavor)
- 4 tablespoons frosting (more if needed)
- 14 ounces melting wafers or coating chocolate
Optional: food coloring, sprinkles, nuts, chocolate chips
Method
- Place 4 cups of cooled, crumbled gluten-free cake in a mixing bowl and shred into small pieces.
- Add sprinkles if desired.
- Add 4 tablespoons of frosting and mix into a pliable cake paste.
- Press the mixture into a cakesicle mold; do not insert sticks yet.
- Chill for one hour.
- Melt 14 ounces of coating chocolate using a double boiler or microwave in short intervals.
- Dip the tip of each stick into the melted chocolate and insert into each cakesicle.
- Coat each cakesicle in melted chocolate, remove excess, place on a mat or wax paper, and decorate quickly.
- Refrigerate for 30 minutes to set, then serve or freeze.
Notes
- See the article above for ideas on cake flavors and decorating tips.
- Some melting wafers are made on shared equipment; choose a brand appropriate for your gluten-free needs.
- Store cakesicles in the refrigerator for up to 3 days or freeze for longer storage.
If you tried this recipe, please share how it turned out and which gluten-free flour or cake you used — it helps others choose what to try next.